
Garage door gaps can be a nuisance, allowing dust, water, and unwanted pests into your garage. Sealing these gaps not only protects your garage but also improves energy efficiency by keeping out drafts. This article will guide you through the simple steps to effectively seal your garage door gaps.
Garage Door Gaps
Before you start the sealing process, it’s important to understand where these gaps occur and why:
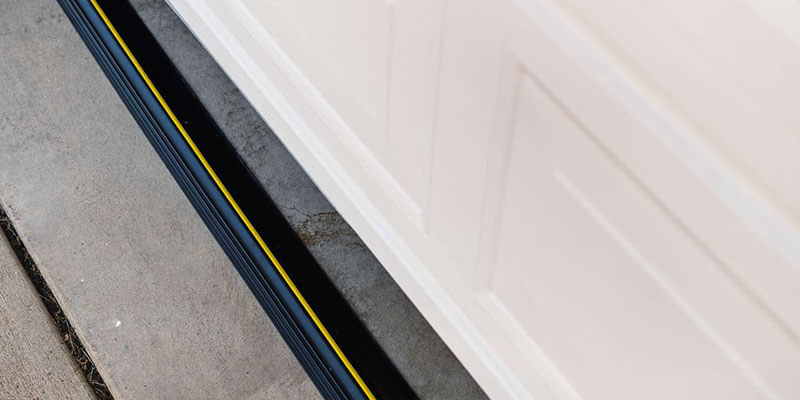
- Bottom Gap: The most common, caused by uneven floors or settling of the foundation.
- Side Gaps: Occur between the door and the garage walls, often due to misalignment.
- Top Gap: Less common, can appear if the door isn’t level or if the top seal is worn out.
Tools and Materials Needed
Gather the following tools and materials before you begin:
- Tape measure
- Scissors or a utility knife
- Weatherstripping or door seal kits
- Garage door bottom seal
- Sealant and caulking gun
- Cleaning supplies
Step-by-Step Guide to Sealing Garage Door Gaps
Step 1: Measure the Gap
First, measure the size of the gap along the bottom, sides, and top of your garage door. This will help you choose the right size and type of weatherstripping or seal.
Step 2: Clean the Area
Ensure the garage door surface is clean and dry. Remove any dirt or debris along the edges where you will apply the new seal.
Step 3: Cut to Size
Cut the weatherstripping or seal to the length of each gap, using scissors or a utility knife.
Step 4: Install the Seal
Attach the weatherstripping to the door:
- For the bottom, fit the new seal along the door’s bottom edge.
- For the sides and top, adhere the weatherstripping along the door frame.
Step 5: Apply Sealant
For extra protection, apply a bead of sealant along the edges of the weatherstripping. Smooth it out with a caulking gun for a secure fit.
Table: Types of Weatherstripping and Their Best Uses
| Weatherstripping Type | Material | Best Used For | Durability |
| V-strip | Vinyl | Side and top gaps | 3-5 years |
| Felt | Wool | Smaller, less exposed gaps | 2-4 years |
| Door sweep | Rubber | Bottom gaps | 5-7 years |
Regular Maintenance Tips
To keep your garage door seals effective:
- Inspect Regularly: Check your seals at least twice a year for wear and tear.
- Clean Seals: Keep the seals free of debris to maintain their integrity.
- Replace When Needed: If you notice cracks or gaps reappearing, replace the garage door seals as soon as possible.
Why Choose CHS Garage Repair Of Seattle
At CHS Garage Repair Of Seattle, we pride ourselves on providing expert garage door services. Whether you need help sealing gaps, repairing doors, or routine maintenance, our team is dedicated to ensuring your garage is secure and fully functional. Trust us to enhance your home’s safety and efficiency with professional care.
FAQs About Sealing Garage Door Gaps
What is the best material for sealing garage door gaps?
The best material depends on the gap size and exposure to elements. Vinyl and rubber are great for durability and flexibility.
How often should I check my garage door seals?
It’s best to inspect your garage door seals every six months to ensure they are in good condition and providing adequate protection.
Can I seal garage door gaps on my own?
Yes, you can seal garage door gaps yourself using basic tools and materials. Follow our step-by-step guide for straightforward DIY solutions.
What if the gaps reappear after sealing?
If gaps reappear, it may indicate an alignment issue with your garage door. Consider consulting a professional from CHS Garage Repair Of Seattle for a comprehensive solution.
Summing Up
By following these simple steps and using the right materials, you can effectively seal the gaps around your garage door, enhancing your home’s overall comfort and security. For any further assistance, remember that CHS Garage Repair Of Seattle is just a call away, ready to provide top-notch service and advice.